


Many people want to change the look of their kitchen cabinets and often are overwhelmed at the idea or cost of a total kitchen makeover. They want to have a go at painting them themselves with our Fusion Mineral Paint, but are afraid of making a mistake or ‘stuffing it up’ so to speak.
The frequent questions that we get are:
Do I need to sand my kitchen cabinets? What do I use to clean my kitchen cabinets? How many coats will it take? Will there be brush strokes on the cabinets? Do I need to use Fusion’s Tough Coat to seal painted kitchen cabinets? Stay tuned and hopefully we answer all these questions you have below.
We are covering all the basics you need to know to get started with how to paint kitchen cabinets. Painting your kitchen cabinets does not need to be and should not be a scary process. You can do this! If anything, it should be a fun home makeover project to help you achieve the kitchen look that you really want…with Fusion Mineral Paint this won’t be hard to achieve.
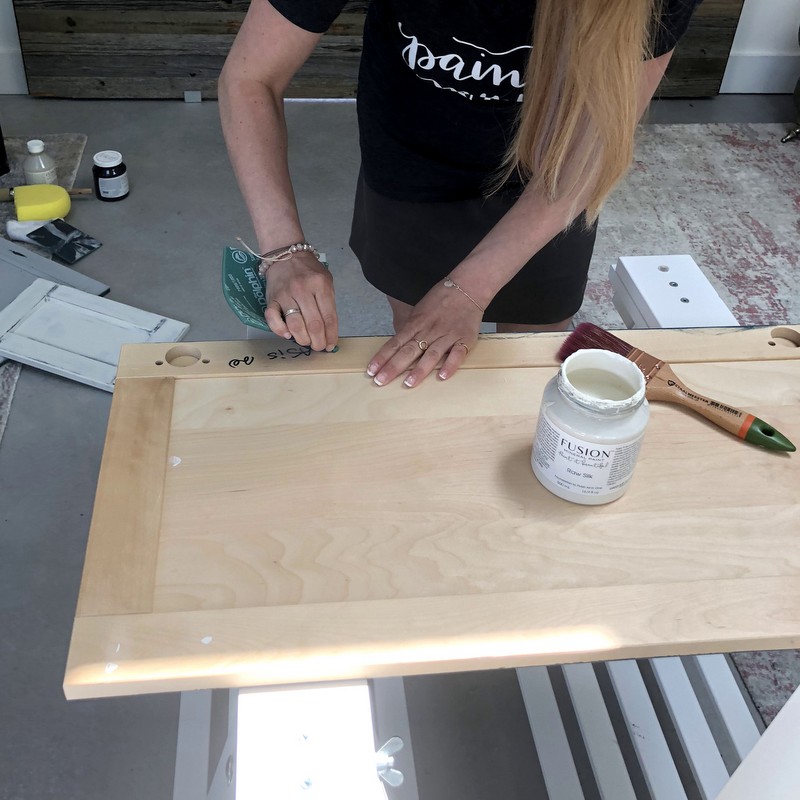
Step 1 – PREP YOUR KITCHEN CABINETS
We sound like a broken record when we say this but prep is the most important step of any paint project. Do not skimp on this step as your paint will only perform as well as the surface that it’s going on allows. What does prep involve? Figuring out your surface needs before a drop of paint even appears on your brush.
For example, are your cabinets made of raw wood that have never been covered with anything? As long as the last sanding on them was in the direction of the wood grain and the dust removed, you’re good to get started after a quick clean of the kitchen cabinets. If they’ve previously been covered in paint, wax or any glossy lacquer, then you will have to clean them more thoroughly.
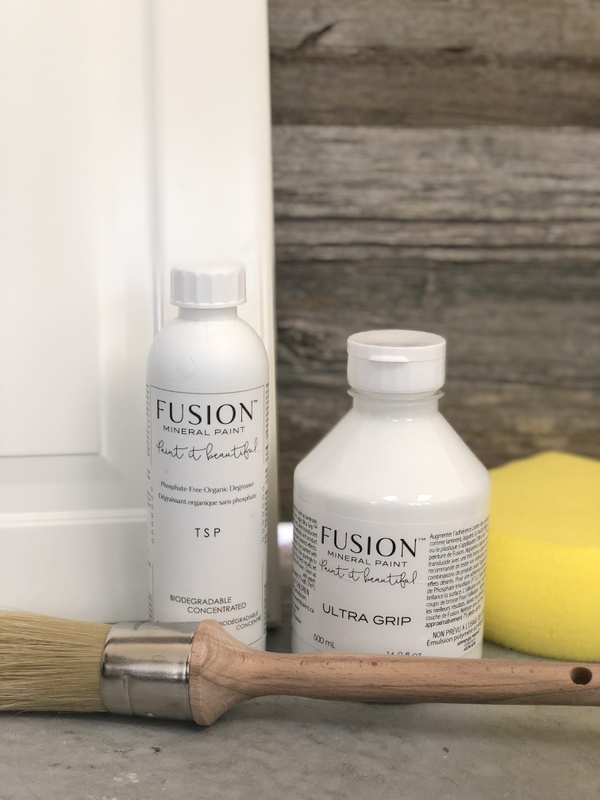
Kitchen cabinets that are lacquer, painted and/or glossy surfaces can be lightly sanded using 220 grit sandpaper and then cleaned with Fusion’s TSP, which is basically your best friend for removing oil, grease and stains. If your surface has been previously waxed (do a fingernail wax test to see if it has) then you must use Mineral Spirits to remove wax as the paint will NOT adhere to a wax surface.
If your kitchen cabinets are melamine, thermafoil, laminate, veneer etc, a light sanding as well as our Ultra Grip, will help the paint adhere better.
Step 2 – TO PRIME OR NOT TO PRIME YOUR KITCHEN CABINETS
Fusion Mineral Paint is a 100% acrylic, water-based paint with a built-in top coat. With most colours and situations you will not need to use a primer before you paint. The one exception to that is if you are concerned about bleed through, which is a shadow or coloring, something that you see peeking through your paint as it starts to cure. It is almost like a stain, bleeding through the paint (think darker wood knots). Certain types of wood are more prone to bleed through.
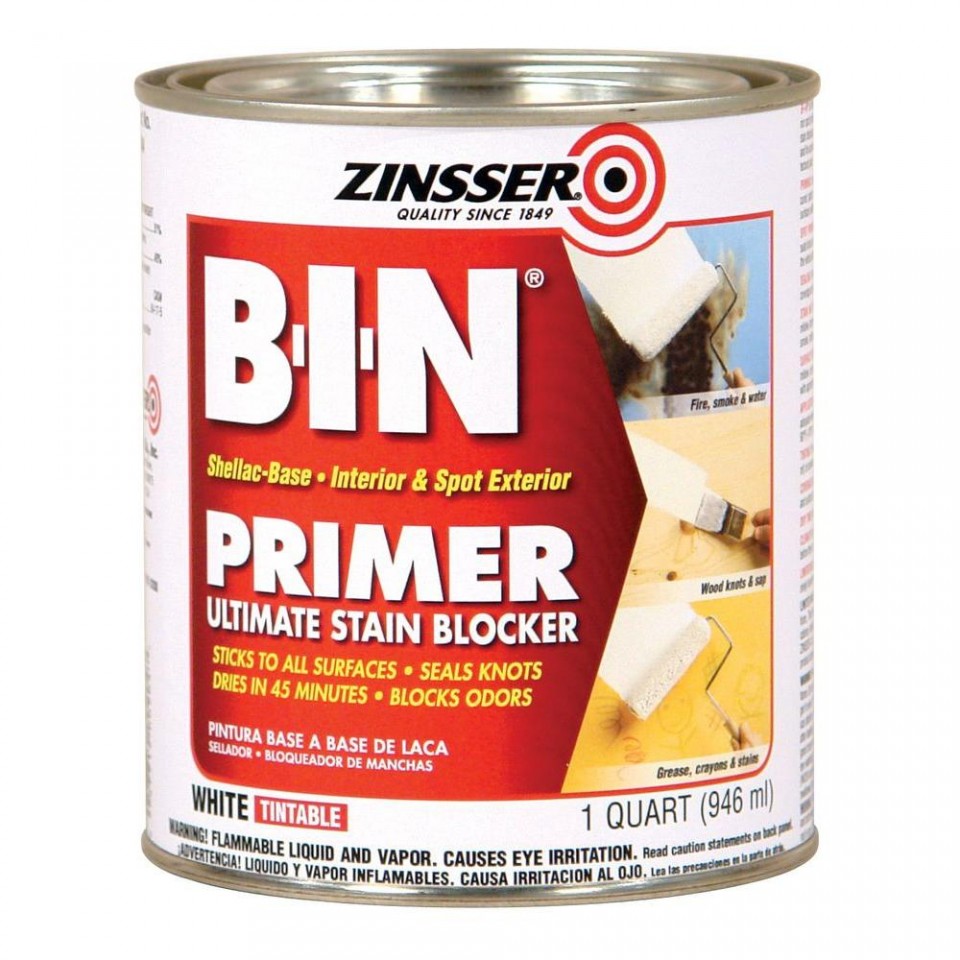
Applying a stain blocking primer is crucial to preventing bleed through when painting. You may want to use B-I-N Zinsser Shellac-Based Primer so that the shellac will hold in the resins and not allow for bleeding to occur. You can purchase this product at your local Bunnings store.
Step 3 – CHOOSING THE RIGHT TOOLS FOR PAINTING KITCHEN CABINETS
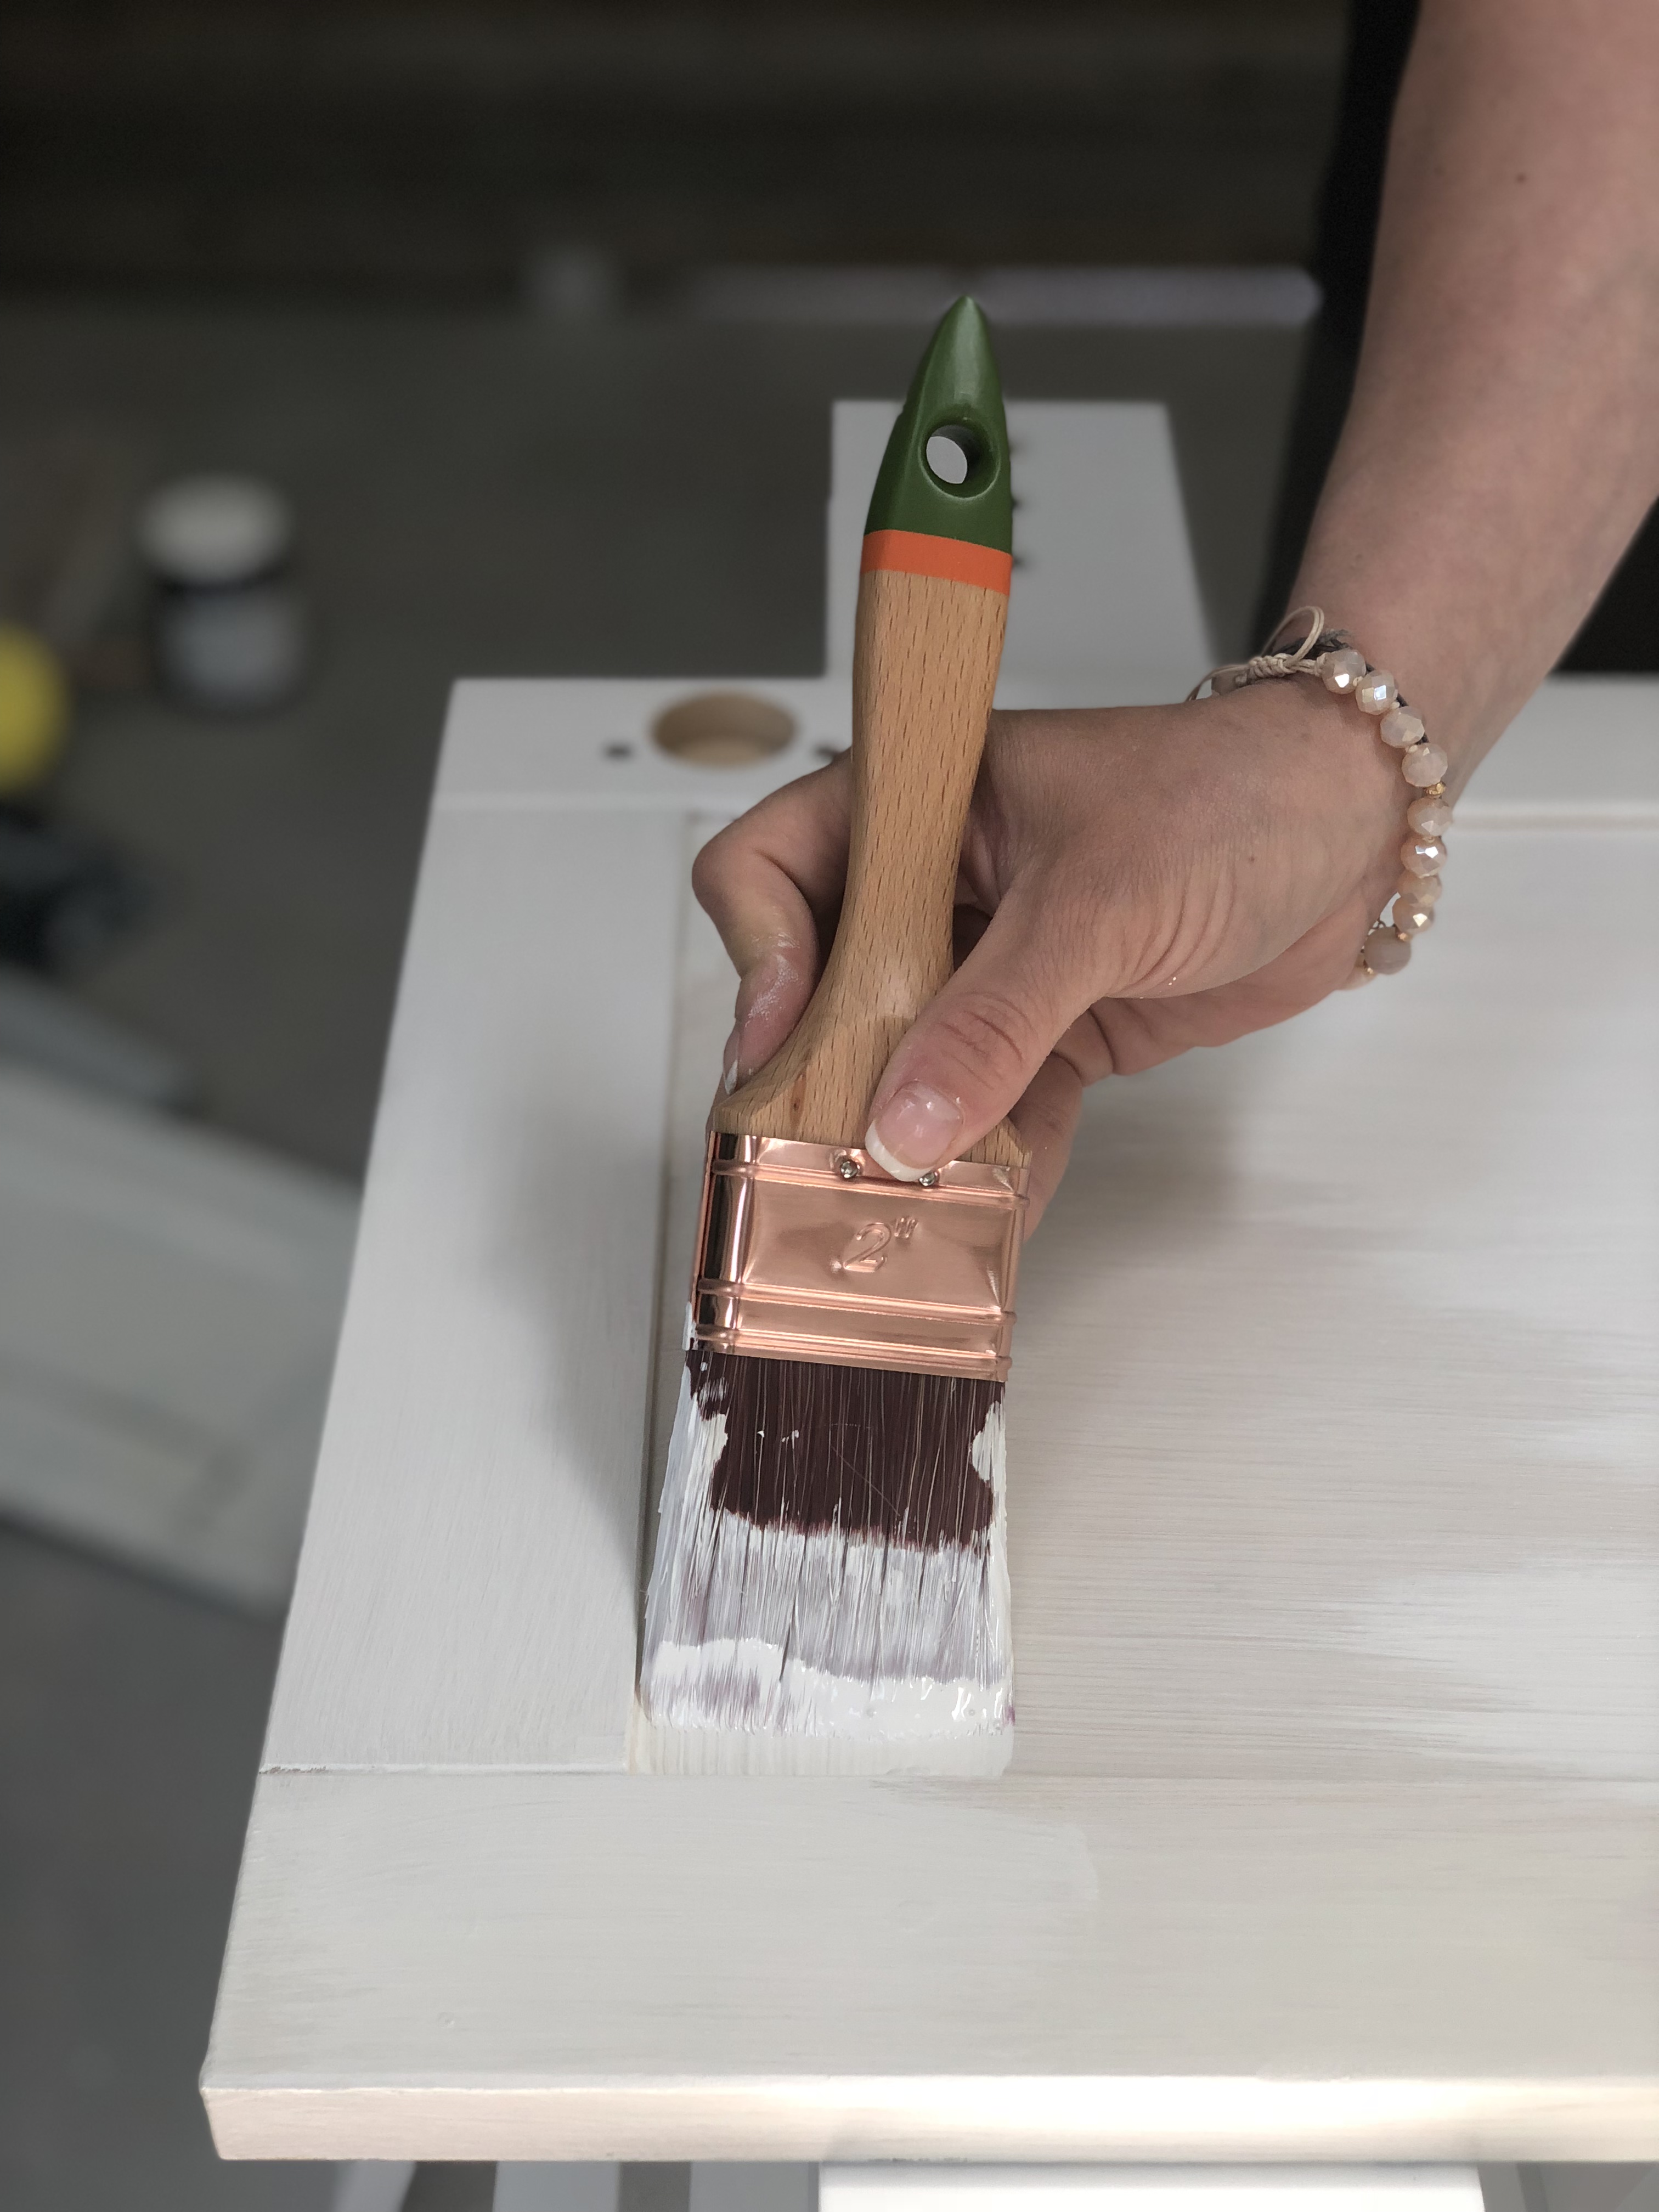
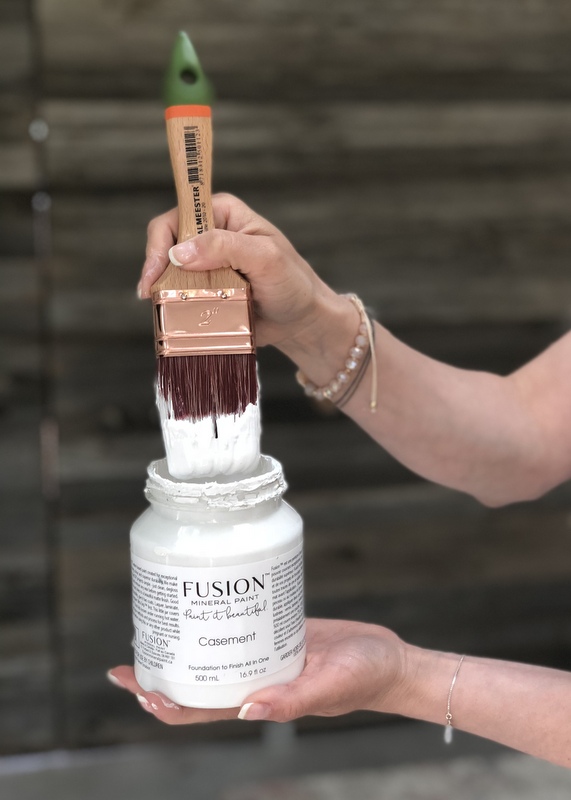
People always want a brush stroke free finish and in order to get that look, you need to choose the right paint brushes. Often times, inexpensive brushes are made with poor quality materials that won’t hold your paint well and when applying paint, loose bristles can come off the brushes and create havoc on your surface. We strongly recommend using a good quality paint brush. In terms of rollers, we often prefer microfiber rollers as they tend to hold paint better and leave less unwanted bubbles or texture on your the surface that you are painting.
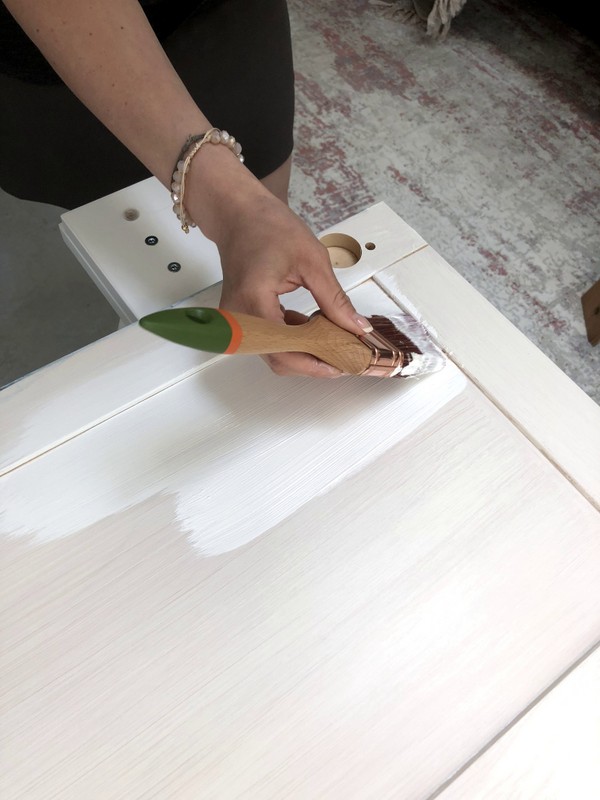
Step 4 – HOW TO PAINT KITCHEN CABINETS – THE PROCESS
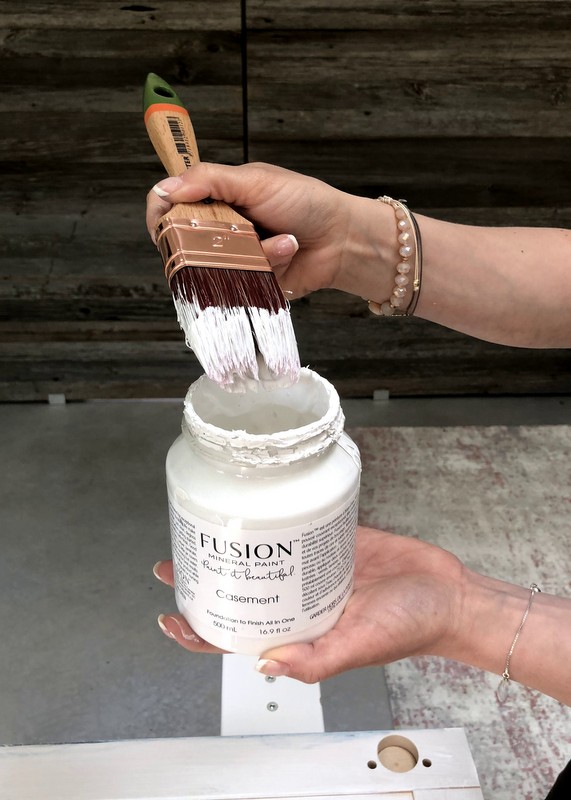
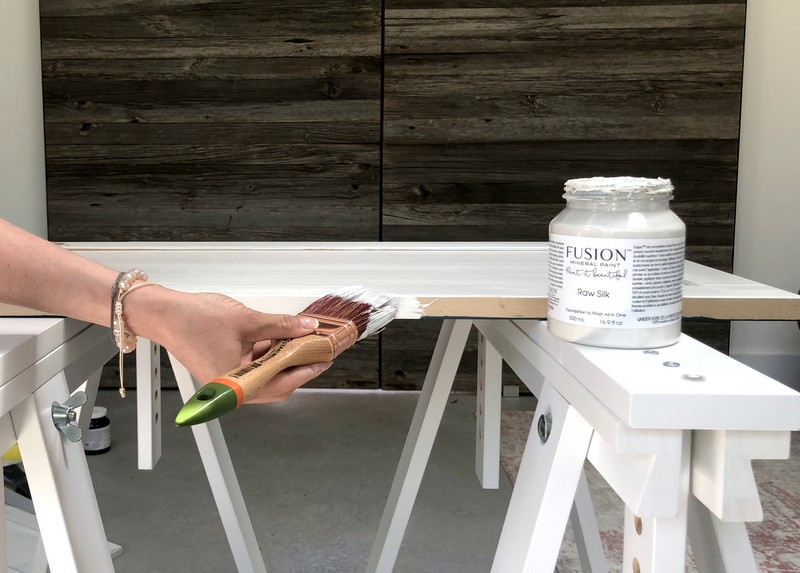
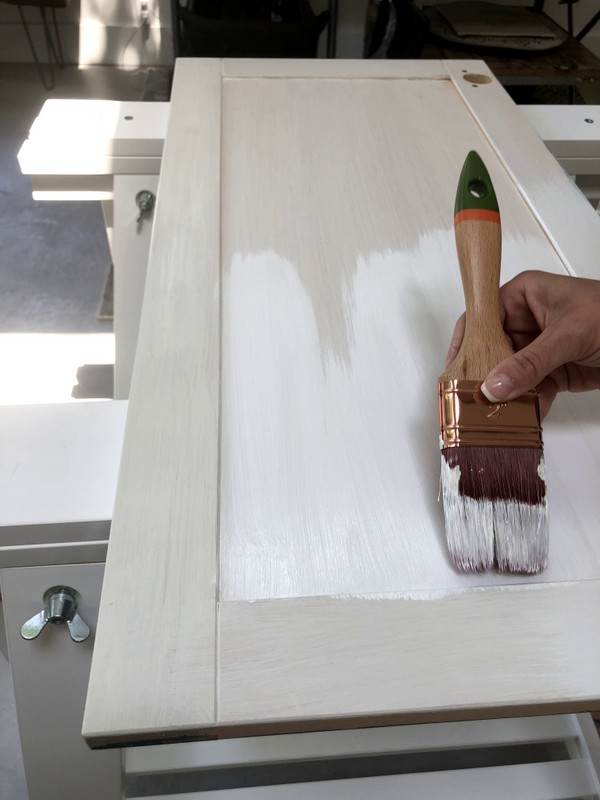
We often think the more paint on the brush and the thicker the coats of paint, the better, when in fact the opposite is true. It is best to apply 2 thin coats for better coverage and a 3rd may be necessary depending on if you’re going from a darker color to a lighter one. The thicker your paint coats are, the longer your drying time. How you hold your brush is also helpful because if you’re going to be painting a lot of cabinets, your hand can get tired and the way you apply your paint can be impacted.
Step 5 – DRYING AND CURING PAINTED KITCHEN CABINETS
As we mentioned, Fusion Mineral Paint is a 100% acrylic paint with a built-in topcoat made from 100% resin. This means you do not need to seal it with an additional product to ensure that it is waterproof. It is already built-in for you. It is dry to the touch after 2 hours and can accept a re-coat of paint after 4 hours. We recommend that cure time for all acrylic paints is 21 days. However, painted surfaces can be gently used after 24-48 hours of drying time.
What about our Tough Coat you say? Well that’s only used at your discretion. We have had clients who have painted their kitchens and not used it and had no issues, whereas others just felt more at ease on giving them a coat for added protection.
And that is it! Take your time as you work. Remember, thin coats are better than thick coats. Do patch tests on cabinet areas that won’t be seen so that you can be comfortable with applying the colour of your choice. And most of all, have fun! It’s an amazing feeling to see our Fusion communities Before and After photos and nothing beats that reaction of “I can’t believe that’s the same kitchen!”
That’s the power of paint! So go Paint it Beautiful!
Lisa x


